Showing posts with label chocolate. Show all posts

Friday, August 23, 2013

Chocolate Chip Cookies/Cookie Sandwiches done the Babycakes way!

I know I've been on kind of a Babycakes kick, but what can I say?  Her recipes are delicious!  I have never been to the actual bakery in NYC, but I plan on it the next time I'm in the city.  Now, I know I've done a recipe before on chocolate chip cookies from the same author, but this is a different recipe from that one.  This is from her first Babycakes book.  It makes a crispier, larger cookie, which you can use as a cookie sandwich with your leftover frosting, like I did.  They were incredible, and a hazard to have in my apartment.  That being said, I am now back on my strict diet.  I have been so bad this summer with my diet, but for me summer is the most difficult time to pass up desserts.  There's desserts at barbeques, there's ice cream everywhere, especially at the shore.  It's difficult to pass up ice cream.  Anyway back to the recipe.

Here's what you'll need:
  • 1 cup coconut oil
  • 6 tablespoons unsweetened applesauce
  • 1 teaspoon salt
  • 2 tablespoons pure vanilla extract
  • 1 1/4 cups evaporated cane juice a.k.a. vegan sugar
  • 2 cups Bob's Red Mill Gluten-Free All-Purpose Baking Flour
  • 1/4 cup flax meal
  • 1 teaspoon baking soda
  • 1 1/2 teaspoons xanthan gum
  • 1 cup vegan chocolate chips
Preheat the oven to 325 degrees.  Line 2 baking sheets with parchment paper.

In a medium bowl, mix together the oil, applesauce, salt, vanilla, and evaporated cane juice.
In another medium bowl, whisk together the flour, flax meal, baking soda, and xanthan gum.  Using a rubber spatula, carefully add the dry ingredients to the wet mixture and stir until a grainy dough is formed.
Gently fold in the chocolate chips just until they are evenly distributed throughout the dough.  Using a melon baller, scoop the dough onto the prepared baking sheets, spacing the portions 1 inch apart.
Gently press each with the heel of your hand to help them spread.  Bake the cookies on the center rack for 15 minutes, rotating the sheets 180 degrees after 9 minutes.  The finished cookies will be crisp on the edges and soft in the center.
Let the cookies stand on the sheets for 10 minutes, then transfer them to a wire rack and cool completely before storing or frosting them.  Store the cookies in an airtight container at room temperature for up to 3 days.

Makes 36 cookies.  Enjoy! 


Wednesday, July 17, 2013

Thin Mints done the Babycakes way

I have always been a fan of all things mint, especially with chocolate, and the Girl Scouts' Thin Mint cookies fit that category.  This recipe was very easy to make, but I feel like the cookies turned out too minty.  I don't know if there was a typo in my Babycakes Covers the Classics cookbook or not, but there was too much mint extract added.  Other than that, the cookies turned out really well.  A lot of my husband's co-workers really enjoyed them. 

Here's what you'll need for the cookies and the topping:
  • 1 1/2 cups Bob's Red Mill All-Purpose Gluten-Free Baking Flour
  • 1 cup sugar (If you want to keep it vegan buy "evaporated cane juice")
  • 1/2 cup unsweetened cocoa powder
  • 1/4 cup arrowroot
  • 1 teaspoon baking soda
  • 1 1/2 teaspoons xanthan gum
  • 1 teaspoon salt
  • 3/4 cup melted coconut oil or canola oil
  • 1/3 cup unsweetened applesauce
  • 2 tablespoons vanilla extract
  • 1 cup vegan gluten-free chocolate chips
  • 3 tablespoons mint extract (I would use less, maybe 1 1/2 tablespoons)

First, preheat the oven to 325 degrees.  Line two rimmed baking sheets with parchment paper and set aside.  Next, in a medium bowl, whisk together the flour, sugar, cocoa powder, arrowroot, xanthan gum, baking soda, and salt.  Add the coconut oil, applesauce, and vanilla and mix with a rubber spatula until a thick dough forms.  Drop the dough by the teaspoonful onto the prepared baking sheets about 1 1/2 inches apart.  Gently flatten each mound of dough, smoothing the edges with your fingers.  
Bake for 7 minutes, rotate the baking sheets, and bake for 7 minutes more.  Let stand on the baking sheets for 15 minutes.
Meanwhile, combine the chocolate chips and mint extract in a small saucepan and place over medium heat.  Stir until the chocolate chips are just melted.  Do not overcook.  Remove from heat.  Dunk the top of each cookie into the melted chocolate or spread it over them (I found the latter easier).  Refrigerate the cookies for 30 minutes on a platter, or until the chocolate sets.

Enjoy!


Monday, June 17, 2013

Vegan Chocolate Cupcakes (Gluten-Free too)

I can't believe my blog is a year old already!  Hopefully I'll get more followers/viewers in this new year of my blog.  I made these cupcakes about two weeks ago when I was craving chocolate, and since the first cupcake batch came out well, I decided to go with my Gluten-Free Cupcakes cookbook by Elana Amsterdam.  They were also sugar free;  they were sweetened with agave nectar.  I like agave a lot, but sometimes when things are sweetened with it, it makes your baked goods extremely moist...a little more than I would like.  That being said, I thought the cupcakes were still very good, and the buttercream turned out really good too.

Here's what you'll need:
  • 1 1/2 cups almond flour
  • 1/4 cup unsweetened cocoa powder
  • 1 tablespoon arrowroot powder
  • 1 tablespoon ground chia seeds
  • 1 tablespoon flax meal
  • 1/4 teaspoon sea salt
  • 1/2 teaspoon baking soda
  • 1/4 cup plus 2 tablespoons coconut milk
  • 1/4 cup plus 3 tablespoons agave nectar
  • 1 tablespoon apple cider vinegar
  • 1 tablespoon vanilla extract
Here's what you'll need for the buttercream:
  • 1/2 cup Spectrum all-vegetable shortening
  • 1/2 cup Earth Balance Natural Buttery Spread
  • Pinch of sea salt
  • 3/4 cup agave nectar
  • 1 tablespoon vanilla extract
Preheat the oven to 350 degrees.  Line 9 muffin cups with paper liners.  In a large bowl, combine the almond flour, cocoa powder, arrowroot powder, ground chia seeds, flax meal, salt, and baking soda.
In a medium bowl, whisk together the coconut milk, agave nectar, vinegar, and vanilla extract.
Stir the wet ingredients into the almond flour mixture with a large spoon until thoroughly combined.  Scoop 1/4 cup of batter into each prepared muffin cup.
Bake for 25 to 30 minutes, until a toothpick inserted into the center comes out with just a few moist crumbs attached.  Let the cupcakes cool in the pan for 1 hour, then frost and serve.


Now onto the buttercream:

In large bowl, blend together the shortening and buttery spread with a handheld mixer until creamy.  Mix in the salt, agave nectar, and vanilla extract, whipping until smooth.
Refrigerate the frosting for 2 hours, or until firm.  Frost the cupcakes immediately, then place them into the fridge to keep the consistency of the frosting firm until serving.  Enjoy! 


Tuesday, May 7, 2013

Mexican Chocolate Cookies (for Cinco de Mayo)

So I originally made these cookies on May 4 as a snack to eat with my friend while he drove us to a CT Roller Derby bout.  They needed help at the last minute, so I volunteered to go as well.  However, after the cookies came out of the oven and I had left the kitchen, I heard this bang of pans hit the floor.  I don't know how or why my cookie sheets fell but I was extremely angry since they were now unedible.  I was going to make them again on Sunday but I was out all day and really didn't want to bake at 10:00 p.m. 

So yesterday is when they were finally made, and they turned out delicious!  The recipe comes from my Cookinglight Everyday Baking book.  It was an easy and quick recipe and I highly recommend them.  They have an extra kick in them that goes well with the chocolate.  I can't stop eating them and even though I saved some for my friend, he might not get them tomorrow. 

Here's what you'll need:

  • 5 ounces bittersweet chocolate, coarsely chopped 
  • 3.3 ounces all-purpose flour (about 3/4 cup)
  • 1/2 teaspoon ground cinnamon
  • 1/4 teaspoon baking powder
  • 1/4 teaspoon salt
  • Dash of freshly ground black pepper
  • Dash of ground red pepper
  • 1 1/4 cups sugar
  • 1/4 cup butter, softened
  • 1 large egg
  • 1 teaspoon vanilla extract
First, preheat the oven to 350 degrees.  Place the chocolate in a microwave safe bowl and microwave on high for 1 minute or until almost melted, stirring until smooth.  Cool to room temperature.
Weigh or spoon flour into dry measuring cups, level with a knife.  Combine the flour and the next 5 ingredients stirring with a whisk. 
Place sugar and butter in a large bowl and beat with a mixer at medium speed until well blended, about 5 minutes.  Add in the egg and beat well.  Add the cooled chocolate and vanilla and beat just until blended.  Add flour mixture and beat just until moist.
Drop dough a tablespoon at a time onto a coated cookie sheet.  Bake at 350 degrees for 10 minutes or until almost set.  Remove from oven and cool for 2 minutes on pans.  Then cool completely on wire rack. 
Enjoy!


Sunday, April 21, 2013

Toasted Coconut-Chocolate Chunk Cookies

Last week I made these cookies for a very small road trip my friends from derby and I were taking to help out with a neighboring league.  The trip was only a couple of hours, but who doesn't want to snack on cookies with chocolate and coconut in them?  These were extremely easy and quick to make.  They also came out of my CookingLight Everday Baking book.

Here's what you'll need:
  • 1 cup flaked coconut
  • 4.5 ounces all-purpose flour (about 1 cup)
  • 1/2 teaspoon baking powder
  • 1/4 teaspoon baking soda
  • 1/8 teaspoon salt
  • 3/4 cup packed brown sugar (I used light)
  • 1/4 cup unsalted butter, softened
  • 1 teaspoon vanilla extract
  • 1 large egg
  • 2 ounces dark chocolate, chopped
 First, preheat the oven to 350 degrees.  Arrange the coconut in a single layer in a small metal baking pan.  Bake for 7 minutes or until lightly toasted, stirring once.  Set aside to cool.

Weight or lightly spoon flour into a dry measuring cup;  level with a knife.  Combine flour and next 3 ingredients in a medium bowl, stirring with a whisk until blended.

Place sugar and butter in a large bowl;  beat with a mixer at medium speed until well blended.
Beat in vanilla and egg.  Add flour mixture, beating at low speed just until combined.  Stir in toasted coconut and chocolate.
Drop dough by level tablespoonfuls 2 inches apart onto baking sheets coated with cooking spray.  Bake at 350 degrees for 10 minutes or until bottoms of cookies just begin to brown.  Remove from pans, and cool completely on wire racks.
Enjoy!


Saturday, April 20, 2013

Flourless Chocolate Cake

So it's been a while since I updated my blog.  I have been extremely busy lately.  I've been helping out a roller derby league for a number of months now, and I finally started skating with them.  Well, not technically with them because I'm training to become a referee, so I'm skating with the other men and women who are also refs or refs-in-training.  That being said, I've been skating a lot.  It's a great work out and I'm actually comfortable enough on my skates these days to even practice jumping in them.  Not that I want to!  However, that's one thing I will have to do to pass the physical test. 

This recipe I found on allrecipes.com, and I was originally making it for a Passover post, but since Passover is long gone, it's just a flourless chocolate cake.  It was extremely rich, and only a small piece will fill you up.  It was also extremely easy to make. 

Here's what you'll need:
  • 4-1 ounce squares semisweet chocolate, chopped
  • 1/2 cup butter
  • 3/4 cup sugar
  • 1/2 cup cocoa powder
  • 3 eggs, beaten
  • 1 teaspoon vanilla extract
Preheat oven to 300 degrees.  Grease an 8 inch round cake pan, and dust with cocoa powder. 

In the top of a double boiler over lightly simmering water, melt chocolate and butter.  Remove from heat, and stir in sugar, cocoa powder, eggs, and vanilla.  Pour into prepared pan.
 Bake in preheated oven for 30 minutes.  Let cool in pan for 10 minutes, then turn onto a wire rack and cool completely. 
Enjoy!

Sunday, February 24, 2013

Chocolate Cream Cheese Cake

Yes, that's my homework under my dessert.

Let's make this clear, this isn't a cheese cake, this is a cake with cream cheese in it.  I wasn't sure how it would turn out, but it came out very tasty and filling.  It was very chocolaty, not very moist, but still very good.  I baked this last weekend when I should have been doing my homework.  I had a huge craving for chocolate though, so I took a break from my accounting studies. 

Here's what you'll need:
2 cups hazelnut flour
2 cups almond flour
2 1/2 cups Stevia Extract in the Raw or 1 1/4 cups New Roots Stevia Sugar
3/4 cup unsweetened natural cocoa powder (not Dutch-process)
2 teaspoons baking powder
1/2 teaspoon salt
5 eggs
8 ounces cream cheese, at room temperature
3/4 cup salted butter melted
2 teaspoons vanilla extract
1 1/2 teaspoons liquid stevia

First preheat the oven to 375 degrees.  Grease a Bundt pan entirely with butter and place it in the freezer.

In a large bowl, combine the hazelnut flour, almond flour, stevia, cocoa powder, baking powder, and salt and whisk until well mixed.
In a large bowl, combine the eggs, cream cheese, butter, vanilla, and liquid stevia and mix with an electric mixer at medium-low speed.
Add the flour mixture one or two cups at a time, and mix at medium-low speed until it makes a smooth, thick, pourable batter. 

Remove your prepared pan from the freezer, then dust the entire inner surface with almond, pecan, or coconut flour (I used coconut because I have a lot more of it than the other two).  Pour the mixture into the prepared pan and jiggle it to evenly distribute the batter into every nook and cranny.
Bake for 30 minutes, then gently rotate and bake for 20 to 30 minutes, until the cake is springy when pressed in the center and a toothpick inserted into the middle of the cake comes out clean.

Let the cake cool in the pan for 20 minutes before turning it out onto a wire rack.  Let the cool for at least 20 more minutes before slicing and serving.
Enjoy!


Saturday, January 19, 2013

Cocoa-Nut Brownies

This recipe comes from my The Joy of Gluten-Free, Sugar-Free Baking cookbook.  These brownies were made using alternative flours such as pecan and almond flours.  The recipe also requires the use of Stevia or Splenda. I always choose the more natural one, so Stevia in this case.  If you're on a diet and still want to eat yummy snack food, you should probably pick up this cookbook.  Every single recipe calls for a type of nut flour, which you can find at your local health food store, however if you are allergic to nuts, this book isn't for you then.

Here's what you'll need:
2 cups (8 oz.) pecan flour
1 cup (4 oz.) almond flour
2 cups Splenda or Stevia Extract in the Raw, or 1/2 cup New Roots Stevia Sugar
1/2 cup (1.5 oz.) unsweetened natural cocoa powder (not Dutch-process)
2 teaspoons baking powder
3 eggs
1/2 cup unsweetened chocolate soy milk or chocolate almond milk
1/4 cup salted butter or margarine, melted
1 tablespoon vanilla extract
1/2 teaspoon liquid stevia

Preheat the oven to 350 degrees.  Line the bottom of an 8-inch square baking pan with parchment paper, then mist the pan with spray oil.

In a medium bowl, combine the pecan flour, almond flour, stevia, cocoa powder, and baking powder and whisk until well mixed.
In a large bowl, whisk the eggs, soy milk, butter, vanilla, and liquid stevia together until thoroughly blended.
Add the flour mixture and whisk or stir with a large spoon until all of the ingredients are evenly incorporated to make a smooth, sticky batter.
Pour the mixture into the prepared pan, spreading it in an even layer if need be.
Bake for 15 minutes, then rotate and bake for 10 minutes, until the brownies are just slightly springy but still jiggly when pressed gently in the center.  If you like fudgy brownies, remove them from the oven at this point.  If you prefer them to be more cakelike, continue baking for a few more minutes, until a toothpick inserted into the middle of the brownies comes out clean.
Let the brownies cool in the pan for at least 15 minutes.  Cut them in a 3 by 4 grid, to yield 12 brownies.

Enjoy!

Sunday, December 2, 2012

Chips Ahoy done the BabyCakes way

Last night I decided I wanted some chocolate chip cookies, instead of going out to the supermarket, I just made some.  This recipe is very easy and not very time consuming (just make sure you melt your coconut oil ahead of time).  This recipe came from my Babycakes Covers the Classics: Gluten Free Vegan Recipes from Donuts to Snickerdoodles.  There is a chocolate chip cookie recipe in Erin's first Babycakes cookbook but I think these are much tastier, and softer on the inside.  They came out delicious.

Don't forget to measure everything out in dry measuring cups!

Here's what you'll need:
1 1/2 cups oat flour
1 cup Bob's Red Mill All-Purpose Gluten-Free Baking Flour
1 cup vegan sugar
1/4 cup ground flax meal
1/4 cup arrowroot
1 1/2 teaspoons xanthan gum
1 teaspoon baking soda
1 teaspoon salt
3/4 cup plus 2 tablespoons melted refined coconut oil or canola oil (I used unrefined coconut oil.)
6 tablespoons unsweetened applesauce
2 tablespoons vanilla extract
1 cup vegan gluten-free chocolate chips (My husband picked up carob chips by mistake but they still worked really well.)

Preheat the oven to 325 degrees.  Line 2 rimmed baking sheets with parchment paper and set aside.

In a medium bowl, whisk together the flours, sugar, flax meal, arrowroot, xanthan gum, baking soda, and salt.
Add the coconut oil, applesauce, and vanilla and stir with a rubber spatula until a thick dough forms.  Stir in the chocolate chips until evenly distributed.
Drop the dough by the teaspoonful onto the prepared baking sheets, about 1 1/2 inches apart.  Bake for 7 minutes, rotate the baking sheets, and bake for 7minutes more, or until the cookies are golden brown and firm.  Let stand on the baking sheets for 15 minutes before eating.
The recipe says it makes 36 cookies, but I came out with 40something cookies.  Enjoy!


Monday, November 26, 2012

Agave-Sweetened Plain Donut with Agave-Sweetened Chocolate Glaze

On Sunday, I decided to finally use my donut pans that I bought a few weeks ago.  Since BabyCakes in NYC is also known for their gluten-free vegan donuts almost as well as their gluten-free vegan cupcakes, I decided to use one of their recipes.  This recipe comes from Erin McKenna's second cook book, BabyCakes Covers the Classics: Gluten-Free Vegan Recipes from Donuts to Snickerdoodles.  You will need a few unconventional flours, so go to your nearest health food store or places like Whole Foods, Trader Joe's, and Kings.  They carry these things, all by Bob's Red Mill.

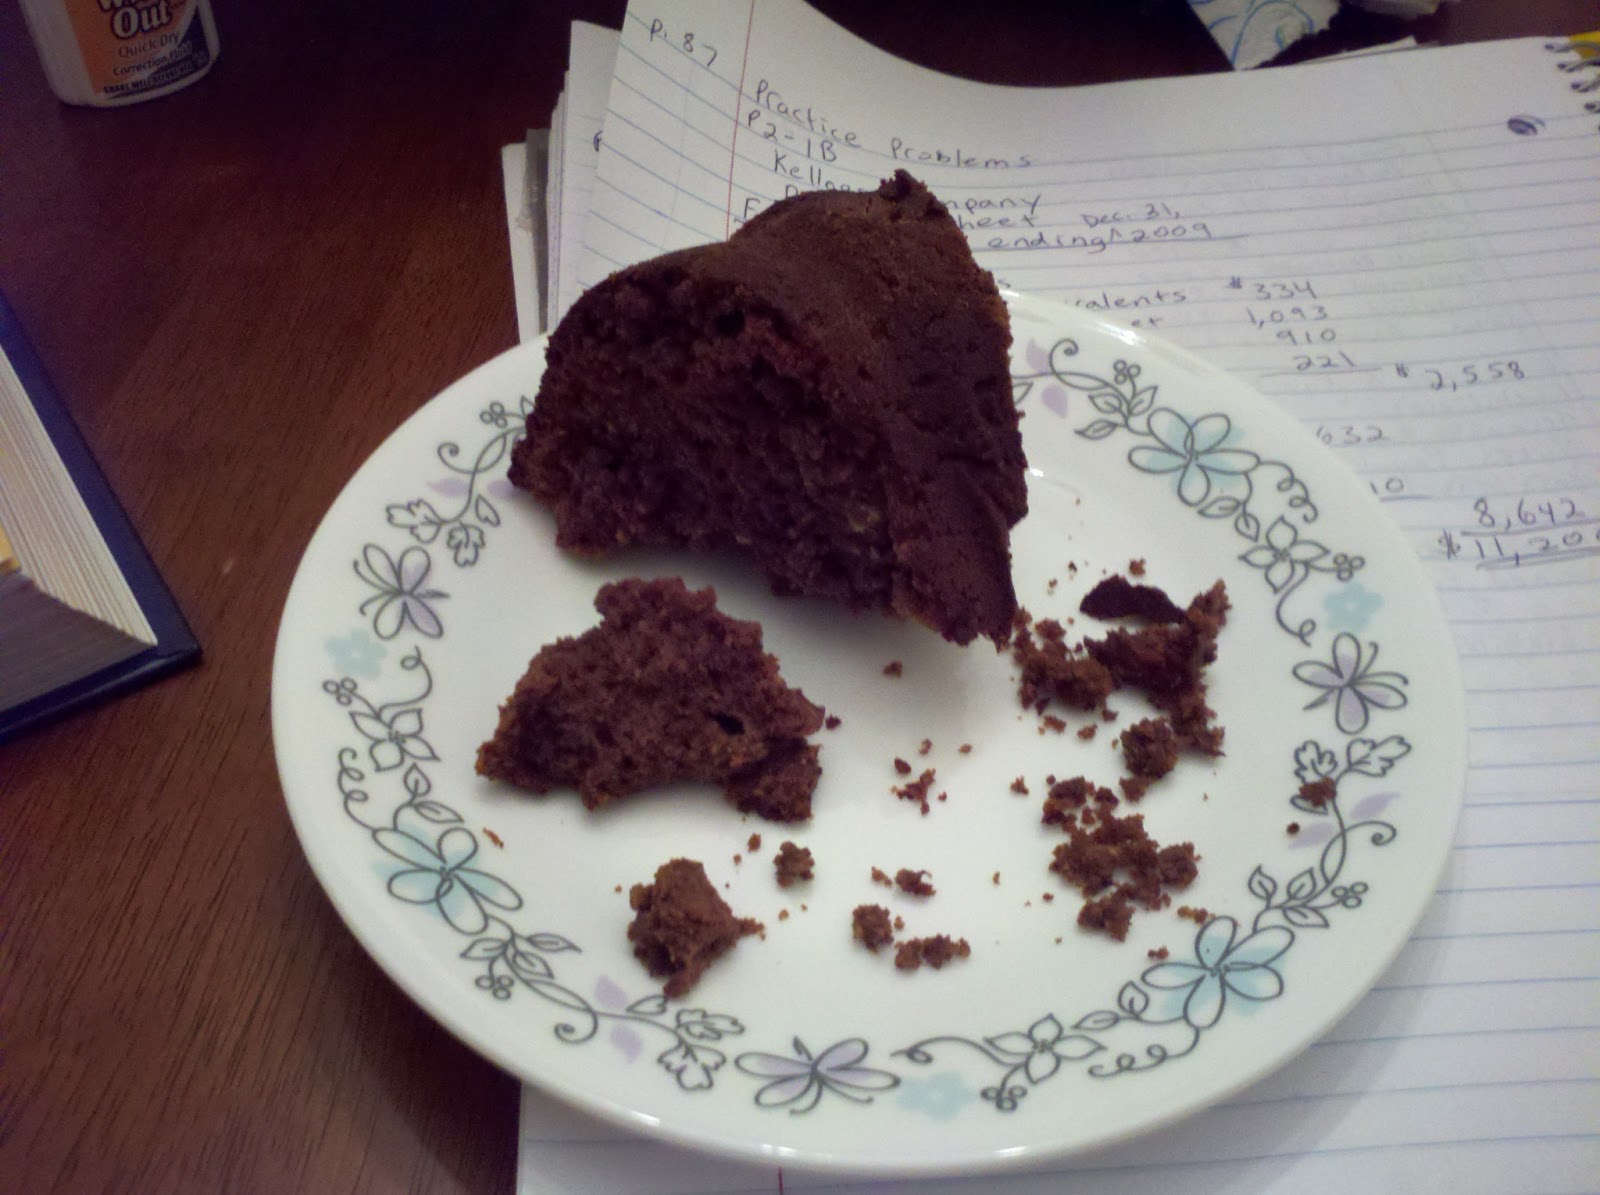
The end result was heavy feeling, and tasted like cake, but was still delicious and much healthier than Dunkin' Donuts'.  If you want a more crunchy donut, Erin suggests making the donut recipes with the sugar in them instead of agave nectar (which I will get to another week).  I wanted to try the healthier option, so I did, and they turned out delicious, especially with the chocolate glaze!

Here's what you'll need for the donuts:
3/4 cup rice flour (I used brown rice flour)
1/3 cup sorghum flour
1/2 cup potato starch
1/4 cup arrowroot
1 1/2 teaspoons baking powder
1/2 teaspoon salt
1/8 teaspoon baking soda
1/4 teaspoon xanthan gum
1/3 cup melted refined (mine was unrefined, I don't think it makes that much of a difference) coconut oil or canola oil, plus more for brushing the trays
3/4 cup agave nectar (light colored)
6 tablespoons unsweetened applesauce
1/4 cup vanilla extract
1/4 cup hot water

One important thing I forgot to type above, Erin suggests measuring out all the ingredients (even the liquid ones) in dry ingredient cups, it makes a little bit of a difference.

What you'll need for the chocolate glaze:
1/2 cup coconut milk
1/3 cup agave nectar
1/3 cup Better Than Milk Rice or Soy Powder (I used a different brand, and it was soy.)
2 tablespoons unsweetened cocoa powder
2 teaspoons vanilla extract
3/4 cup melted refined coconut oil or canola oil (I used canola this time.)
1 tablespoon lemon juice

Preheat the oven to 325 degrees.  Brush 2 six-mold donut trays with coconut or canola oil and set aside.
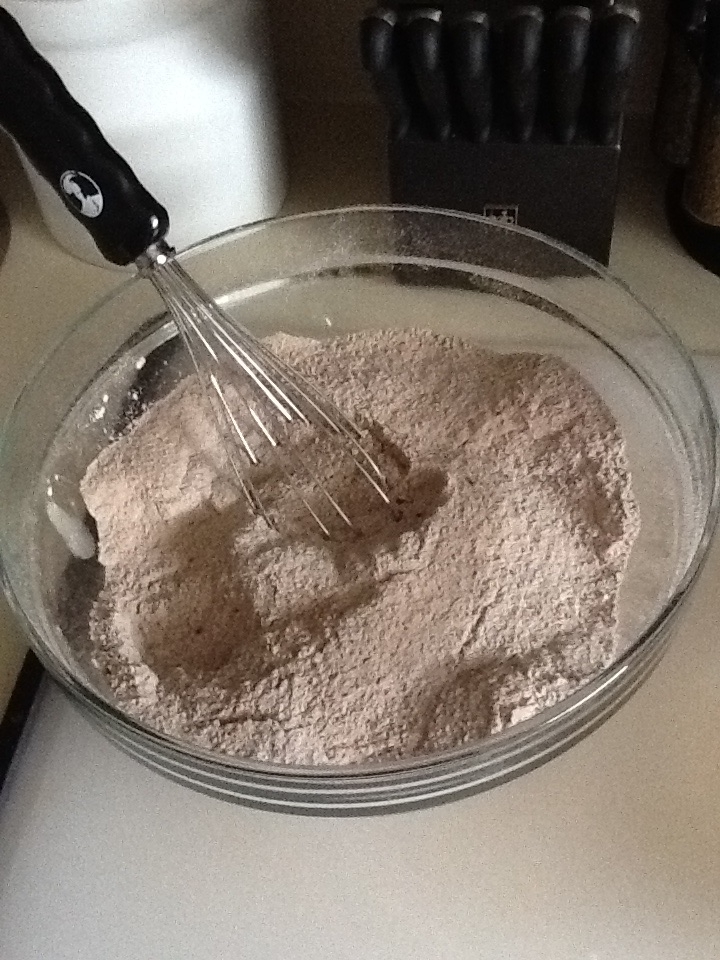
In a medium bowl, whisk together the flours, potato starch, arrowroot, baking powder, salt, baking soda, and xanthan gum.
Add the agave nectar, coconut oil, applesauce, vanilla, and hot water and mix with a rubber spatula just until the ingredients are incorporated.  Continue mixing until the batter is smooth.  Using a melon-baller or tablespoon, drop 2 1/2 tablespoons of batter into each donut mold.  Using a toothpick, spread the batter evenly around the mold.
Bake for 8 minutes, rotate, and continue baking until the donuts are golden brown, about 8 minutes more.  Let cool in the molds for 15 minutes.  Run a knife around the donuts in the molds, lift them out, and place them on a baking sheet.

While the donuts are baking, combine the coconut milk, agave nectar, rice or soy-milk powder, cocoa powder, and vanilla in the bowl of a food processor and blend on medium speed for 1 minute.  While the processor is running, gradually add 1/2 cup of the coconut oil and 1/2 tablespoon lemon juice and blend until thoroughly incorporated.  Add the remaining 1/4 cup coconut oil and 1/2 tablespoon lemon juice and process for 1 minute more.  The glaze can be stored, covered tightly at room temperature for up to 4 days.
Once the donuts are cool enough, dip into the glaze and enjoy!


Wednesday, November 21, 2012

Decadent Double-Chocolate Bundt Cake

 Hey everybody!  Sorry it's been a while since I posted, been busy with a lot of stuff.  I'm trying to decide if I want to keep working where I do or if I should just go back to school in January as a full time student to get my certificate in bookkeeping.  Honestly, I think I rather go back and get the certificate so I can get a better paying job.  I like my job, but it's not something I can't see myself doing the rest of my life.  I know bookkeeping may not sound like the most exciting thing ever, but I'm a very quiet, shy person (around new people), and this would fit my personality.  I was thinking about going to cooking school, but I don't want to make one of my hobbies into a career, because then I may end up hating having to cook when I come home from work.  I tried making music into a career, and I ended up not enjoying playing my piano...which I miss greatly now! Anyway, my husband's birthday was at the beginning of November and I made him this chocolate bundt cake from my CookingLight Way to Bake cookbook.

Here's what you'll need for the glaze:
2/3 cup granulated sugar
1/4 cup water
1/4 cup chocolate-flavored liqueur
2 tablespoons butter

Here's what you'll need for the cake:
1 1/2 teaspoons canola oil
2 tablespoons all-purpose flour
Cooking spray
1 1/2 cups granulated sugar
6 tablespoons butter, softened
2 large eggs
2 large egg whites
2 teaspoons vanilla extract
13.5 ounces all-purpose flour (about 3 cups)
1/2 cup unsweetened cocoa
1 teaspoon baking powder
1/2 teaspoon baking soda
1/2 teaspoon salt
1 1/2 cups 1% low-fat milk
2/3 cup semisweet chocolate minichips
2 tablespoons powdered sugar

First you'll have to prepare the glaze, so combine the first 4 ingredients in a small saucepan.  Bring to a boil over medium-high heat, stirring constantly.  Cool completely.
Preheat oven to 350 degrees.  To prepare cake, drizzle oil into a 12 cup Bundt pan;  coat pan thoroughly using a pastry brush.  Sprinkle with 2 tablespoons flour, shaking out excess, then coat preparted pan with cooking spray.  I know it sounds like a lot to prepare the pan, but you don't want your cake to stick to it while you're trying to get it out of the pan.

Place 1 1/2 cups granulated sugar and 6 tablespoons butter in a large bowl;  beat with a mixer at medium speed until well blended (about 5 minutes).  Add eggs and egg whites, 1 at a time, beating well after each addition.  Beat in vanilla.
Weight or lightly spoon 13.5 ounces flour (about 3 cups) into dry measuring cups;  level with a knife.  Combine the flour and next four ingredients, stirring with a whisk.  Add flour mixture and milk alternately to sugar mixture, beginning and ending with flour mixture;  mix after each addition.  Beat at medium speed for 2 minutes.  Fold in chips.  Spoon batter into prepared pan.  Swirl batter using a knife.
Bake at 350 degrees for 45 minutes or until a wooden pick inserted in center comes out clean.  Immediately pour glaze over cake.  Cool cake in pan on a wire rack for 30 minutes.
Invert cake onto a serving plate;  cool completely.  Sprinkle with powdered sugar.

Enjoy!  


Sunday, July 15, 2012

Vegan Chocolate Cake from Penzeys Catalog

Many people, including myself wondered how vegans made cakes with out eggs.  Every recipe I have used to make cake or cupcakes I had to use eggs.  Eggs create that stickiness so all the ingredients get combined, right?  Yes, I believe so.  When I have made vegan cupcakes in replace of eggs I would use applesauce or canned pumpkin (depending on the recipe).  This recipe didn't call for any of that.  It came out very yummy, moist but not overly moist, and the frosting was sweet but not overly sweet.  It was the best chocolate cake I have ever made thus far.  It was also the easiest. 

This recipe is from the Penzeys catalog.  One thing I forgot to mention in a previous post is that the catalog has recipes in it from the Penzeys customers, and every catalog has new recipes.  :-)

What you'll need for the cake:

3 cups flour
2 cups sugar
2 teaspoons salt
6 tablespoons of Penzeys Dutch Cocoa Powder
2/3 cup vegetable oil (it's suggested to use canola)
2 tablespoons vinegar
2 teaspoons Penzeys Double Strength Pure Vanilla Extract
2 cups water

Preheat oven to 350 degrees.  Grease and flour a 9"x13" pan.  In a mixing bowl, sift together flour, sugar, salt, baking soda, and cocoa.
In a second bowl, combine oil, vinegar, vanilla, and water.
Gradually add the dry ingredients to the wet and mix well.
                               (I love how it bubbled from the combination of vinegar and baking soda.)

Pour into the pan and bake until the cake is firm in the center and begins to pull away from pan, about 35-40 minutes.  I think I had my timer at 38 minutes and a toothpick came out clean from the middle.


For the icing:
4 tablespoons oil (canola)
4 tablespoons water
6 tablespoons sifted cocoa powder 
2 cups sifted powdered sugar

Using a double boiler, heat the water and oil to boiling (it won't come to a rolling boil, but bubbles will appear).
Remove from heat. Blend in the cocoa and sugar.
Beat until smooth.
Pour over the cake, spreading the icing to the edges, and let it cool.
Enjoy!